How to Install Strapi Project with MySql Database and Start the Project using PM2.
If you are a Frontend Developer who usually consumes APIs to connect the UI created with data from a database to make the application more dynamic, you often have to wait for the Backend developer to finish building the API. Meanwhile, for a beginner Frontend Developer, you may need a portfolio and an API to make your application work, but you lack Backend knowledge. The solution is STRAPI.

What is Strapi? Strapi is an open-source, flexible, and self-hosted Content Management System (CMS) that allows you to easily create and manage content on your website or application. Built using Node.js technology, Strapi provides a graphical interface to manage content and a RESTful API accessible from various platforms and devices.
With Strapi, you can easily create custom content schemas, add content, and manage user authorizations. This enables developers to build dynamic and easily extensible websites or applications without having to create a content management system from scratch.
Strapi's "headless CMS" approach allows easily connecting managed content to various front-end devices, such as React, Vue, or Angular-based websites, mobile applications using Flutter, Kotlin, or desktop applications.
With Strapi, you have full control over your data and content, making building complex and large-scale projects easier. Additionally, being open-source, you can customize and integrate Strapi according to your project's needs.
In short, Strapi is a powerful and flexible open-source CMS platform that allows easy content management and provides APIs accessible from various devices, helping to accelerate and simplify the development process of modern applications. More detailed information is on the website Strapi — Open source Node.js Headless CMS 🚀*.*
So, how do you install and use Strapi?
First, ensure that the following prerequisites are installed on your computer/laptop:
Install Node.js, minimum version 14, and preferably the latest version (v18 and above).
Install npm version 6 or above.
Install yarn.
Install a Database. Some recommended Databases that support Strapi are as follows:
MySql version 8.0
MariaDB version 10.6
PostgreSQL version 14.0
SQLite version 3 (for SQLite, it is recommended to install Python).
Next, install Node.js first. It is recommended to use the Node.js package manager to include NPM. You can download Node.js from the official website (nodejs.dev). Choose the LTS version and follow the installation steps. After installation, check if Node.js and npm are installed on your device using the terminal with the following commands:
node -v
npm -v
If they are installed correctly, you will see the respective versions.

Also, install Yarn by visiting the official Yarn website (yarnpkg.com) or use the following command:
npm install --global yarn
Check if the installation is successful by running:
yarn --version
If successful, it will display the installed Yarn version.

Next is to install the database, this time I am using MySql, on Windows, we can use several GUI options such as:
You can also install MySql / MariaDB separately. mariadb.org
If using Mysql without a GUI like Xampp, don't forget to install a tool called Table Plus. Table Plus is used to create or manage tables for Strapi later on. You can download it here TablePlus | Modern, Native Tool for Database Management.
This time, I am using Xampp for the MySql database and utilizing PhpMyadmin, which is included in Xampp, to store the tables for Strapi.
After successfully installing Xampp, we will get a dashboard like this:
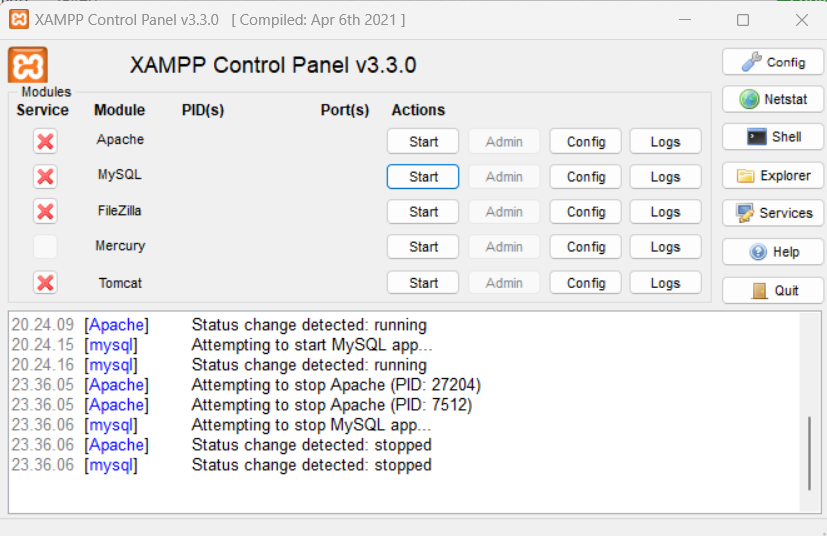
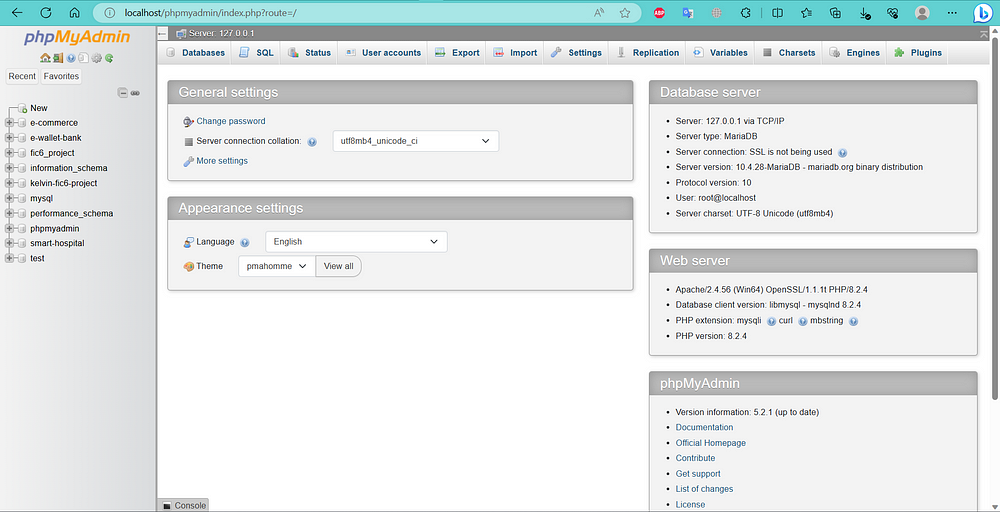
Don't forget to set a user and password for PhpMyadmin to secure your Strapi database. I have included the following YouTube video recommendations on how to do it:
If done correctly, it will appear as follows:
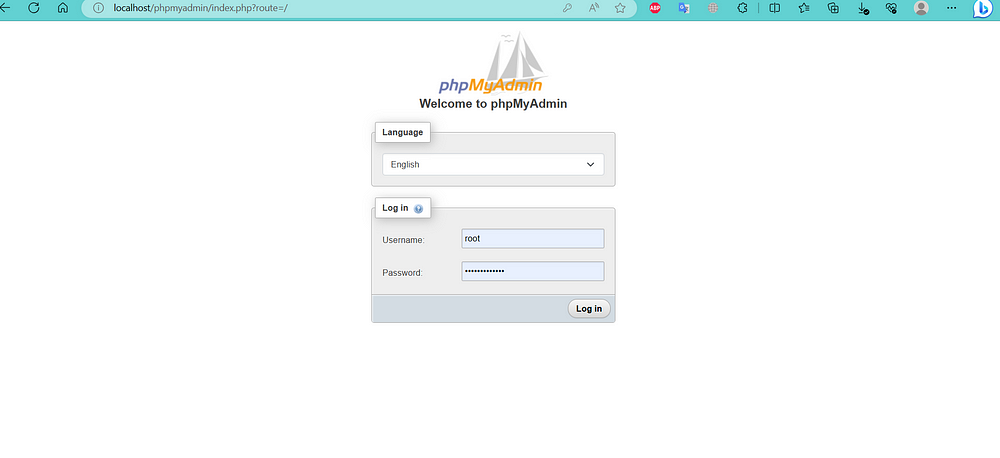
Next, we will create the Strapi Project. Make sure the Xampp Control Panel for Apache and Mysql is already started. To create the Strapi Project, follow these steps:
There are two ways to do it, using Yarn or npm. For this example, I will be using yarn.
yarn create strapi-app name-your-project
# 'yarn create' creates a new project
# 'strapi-app' is the Strapi package
# 'name-your-project' is the name of your Strapi project
Then, two installation types will appear:
Quickstart (recommended), which uses the default database (SQLite).
Custom (manual settings), which allows you to choose your preferred database.
As I will be using MySql, I will select the custom option and choose the MySql database.
Next, two language options for the Strapi project will appear:
JavaScript
TypeScript
I will choose JavaScript for this project.
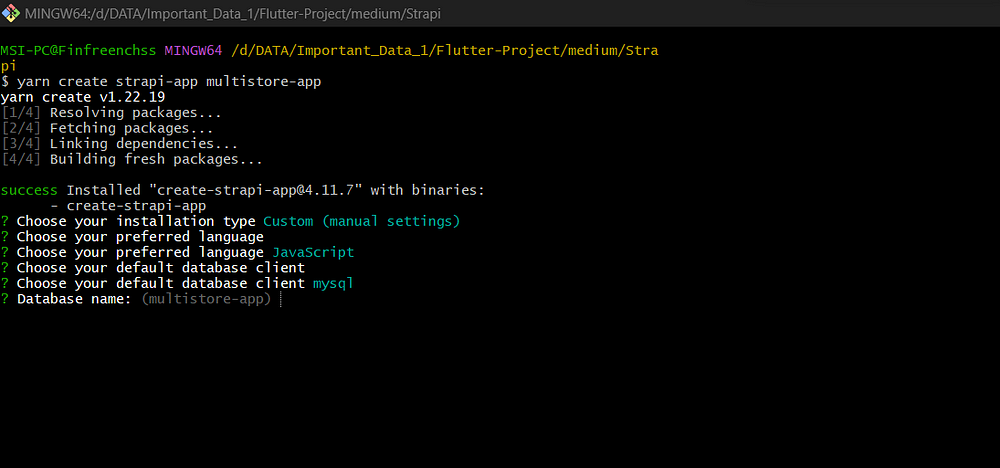
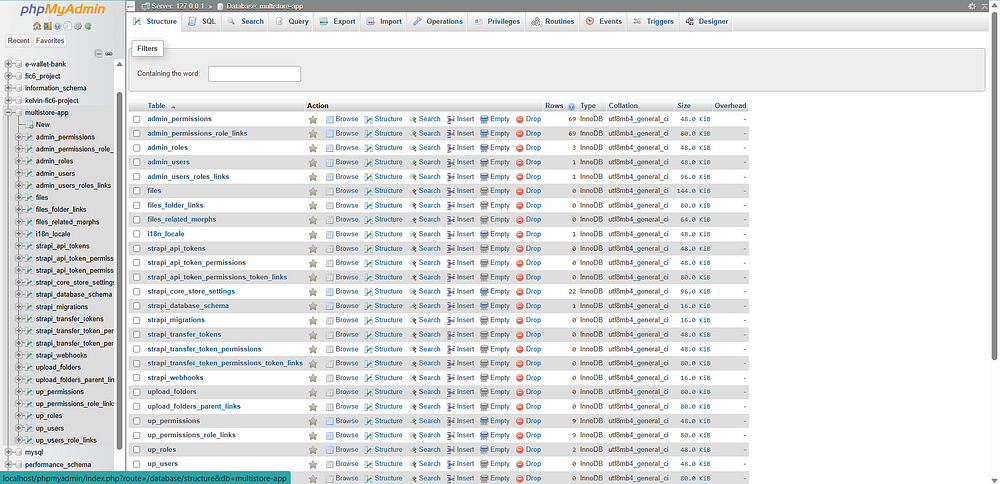
After that, a command will appear to fill in the Database name. Don't forget to create the database first on localhost. I will name it "multistore-app" as an example.
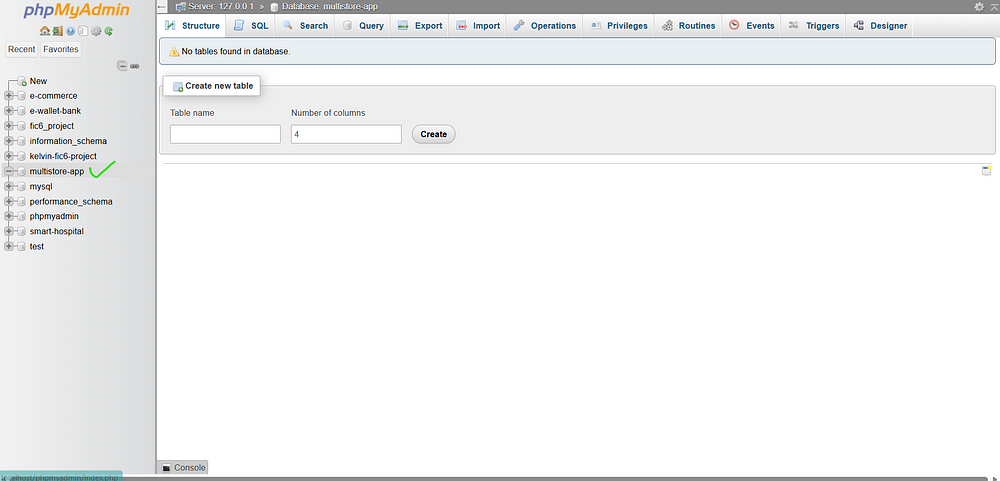
After the database has been created, continue the process of creating the Strapi project by entering the name of the database that has been created.

Next step, you will be prompted to enter the Host, port, username, and password that have been set in the database configuration. Since I am using MySql, the default Host is 127.0.0.1, and the port is 3306. Enter the appropriate Username and Password that you have configured earlier, and then press Enter.
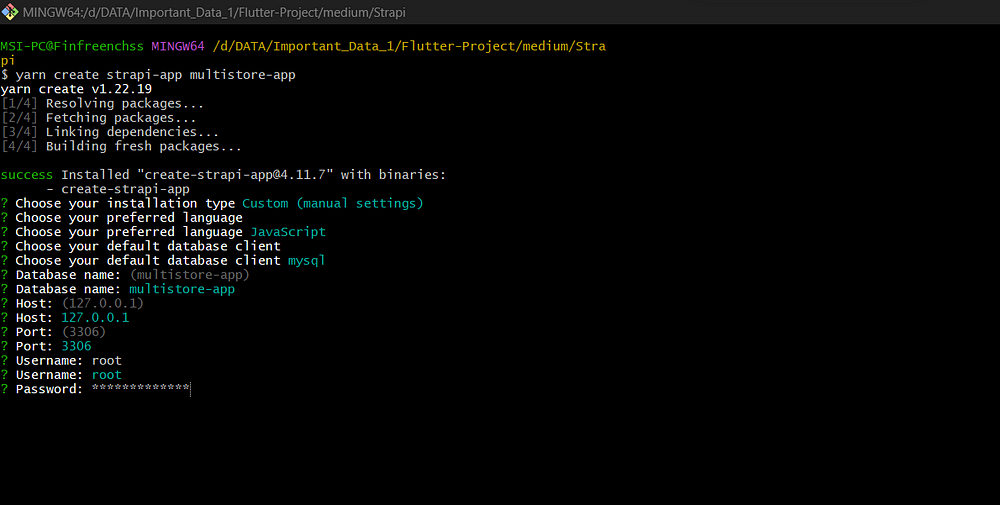
You will see a command for SSL connection, just choose No.
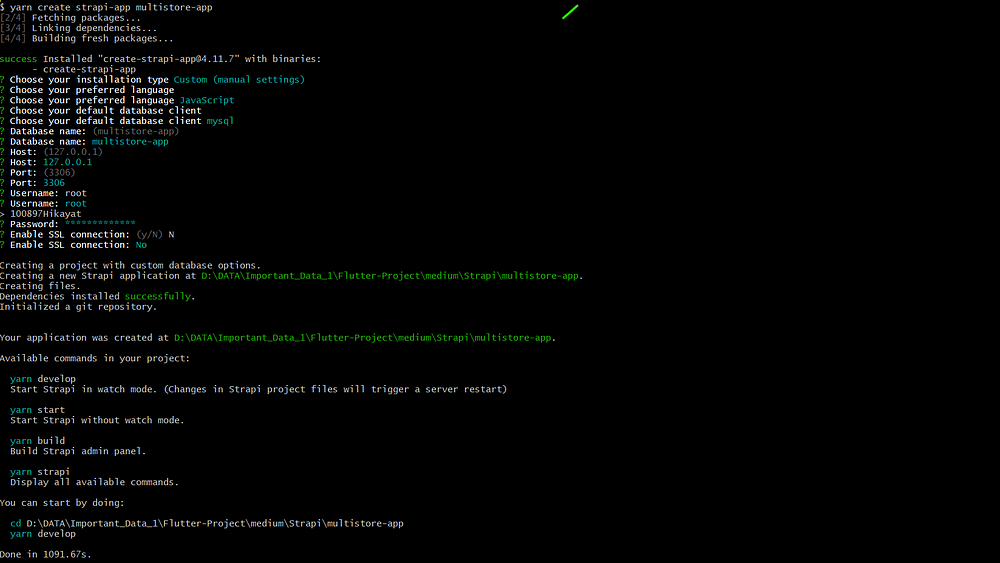
After the process is complete, go to the directory of the Strapi project that was created, then run the command "yarn develop."
cd name-project
yarn develop
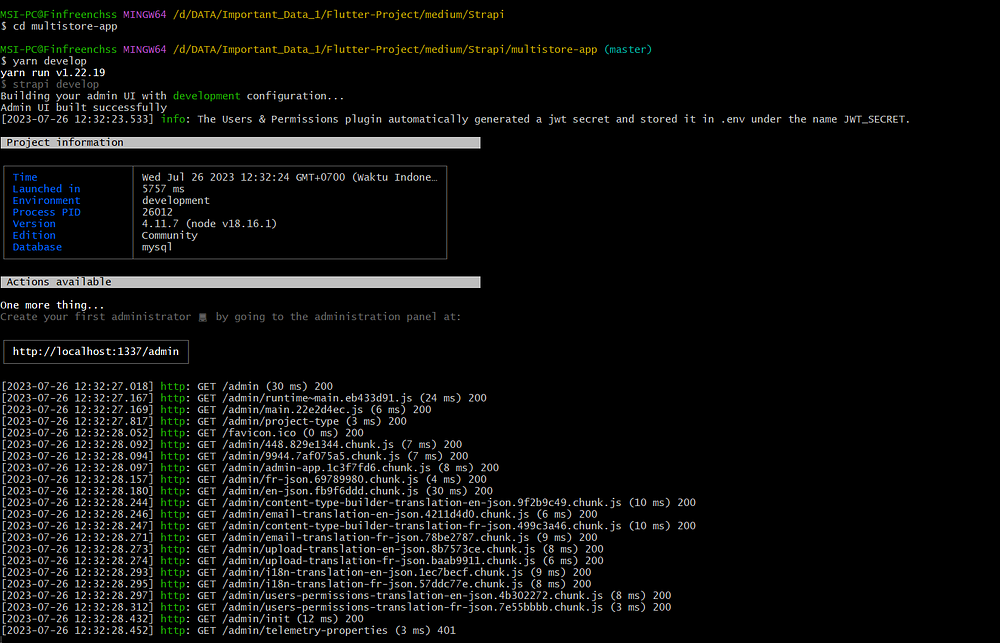
If successful, you will be redirected to the localhost Strapi dashboard. Don't forget to register the admin first.
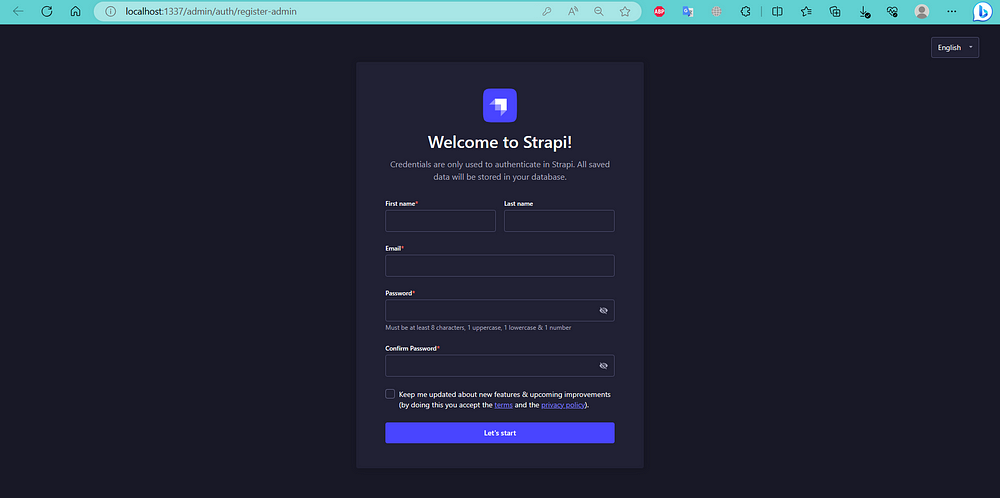
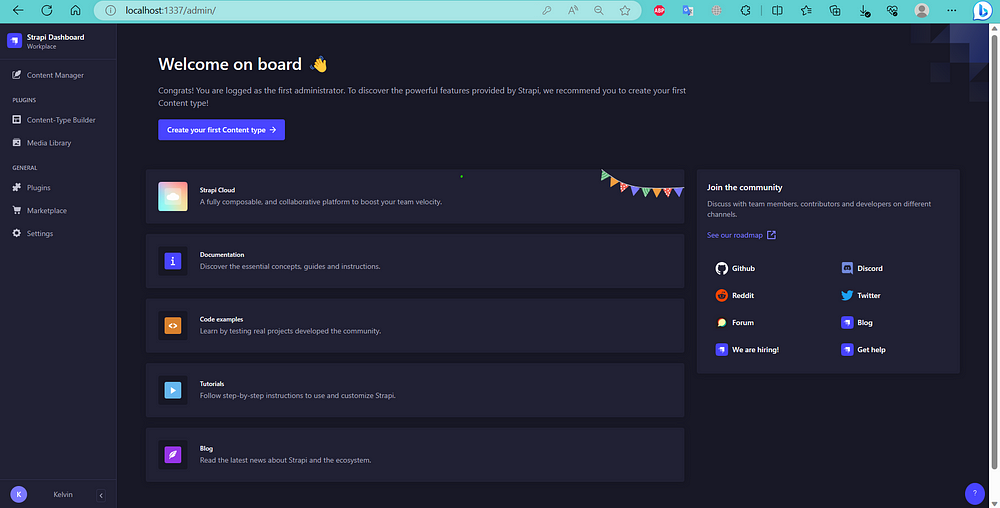
After clicking the "Let's Start" button, the Strapi dashboard will appear.
Don't forget to check the database tables in PhpMyAdmin that you have created. If successful, it will look like this.
The installation of the Strapi project is now complete. But wait, there is a small issue. If we close this terminal.

Then, the dashboard will go offline like this.
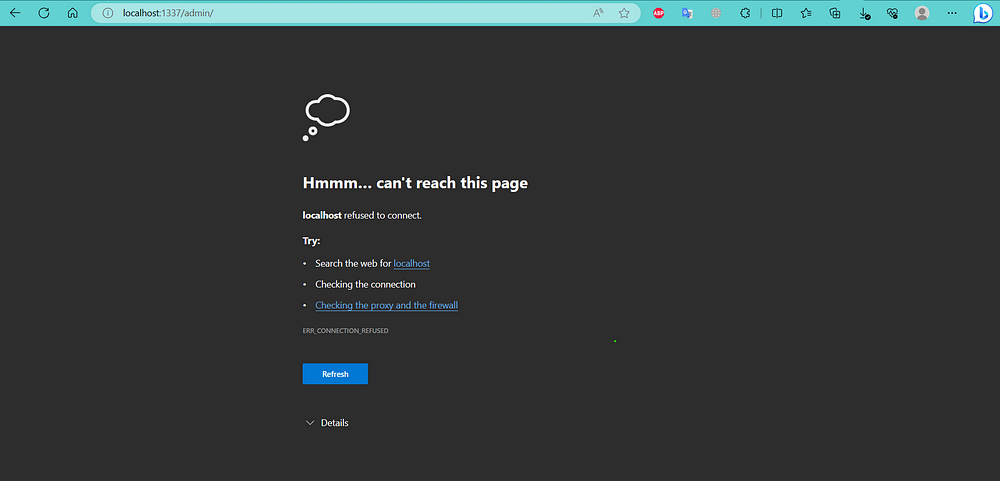
So, what is the solution to keep Strapi running when the terminal from "yarn develop" is closed? This is where PM2 comes into play. But what is PM2?
PM2 (Process Manager 2) is a powerful and easy-to-use process management tool for Node.js applications. With PM2, you can manage and monitor your Node.js applications, allowing you to run them as background services and monitor their performance. For more details, you can refer to the following link: PM2 - Quick Start (keymetrics.io).
So, how do you use PM2 with the Strapi Project?
Follow these steps:
Install PM2.
Start Strapi using file "server.js".
Start Strapi using the "strapi" command.
Start and manage Strapi using the file "ecosystem.config.js".
Alright, first, open the terminal and navigate to your Strapi project directory.
cd name-project-strapi
#name-project-strapi is the name of the Strapi project that was created.
Second, perform "yarn build" on your Strapi project.
yarn build

Third, after the project build is completed, install/add PM2 globally to your project.
If using yarn:
yarn global add pm2
If using npm:
npm install pm2 -g

Fourth, enter your Strapi project directory and add a file named "server.js."
This time, I am using the start method using the file "server.js."
If you want to use a different method, you can directly go here: Process Manager | Strapi Documentation.
Once inside the Strapi project file, create a new file named "server.js" and insert this code into it.
const strapi = require('@strapi/strapi');
strapi().start();
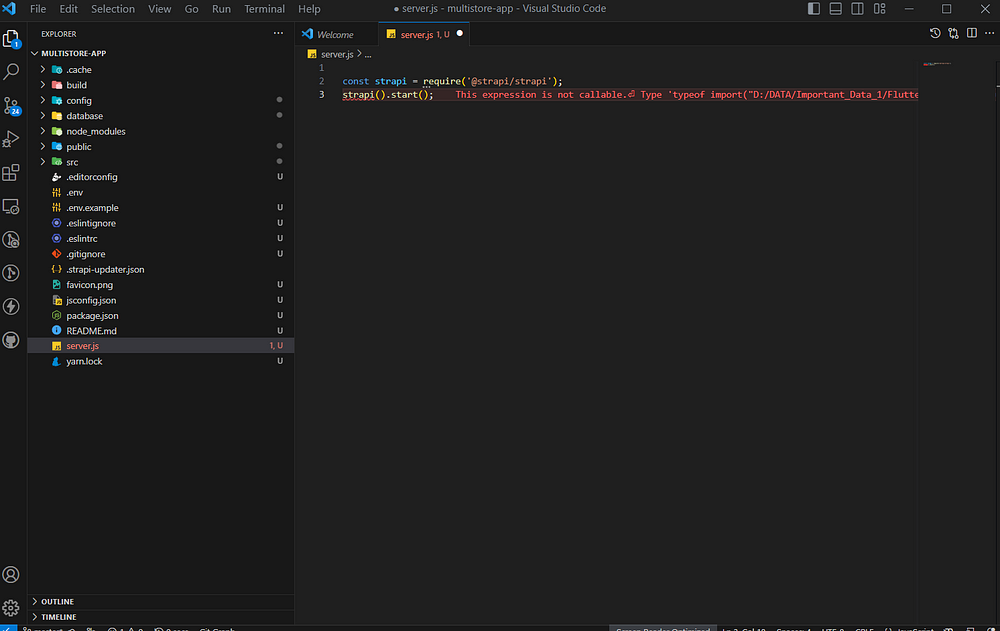
Since I am using an extension in Vs Code to detect errors in the Dart language, which is not related to JavaScript, these errors do not affect JavaScript. So, please ignore them.
Fifth, perform the start using PM2.
pm2 start --name multistoreapp server.js
# --name <app_name> Specify an app name
If after the start, your terminal shows the status online as shown below.

Then, you have successfully started the Strapi project using PM2, and when you close the terminal, the Strapi dashboard will continue to run.
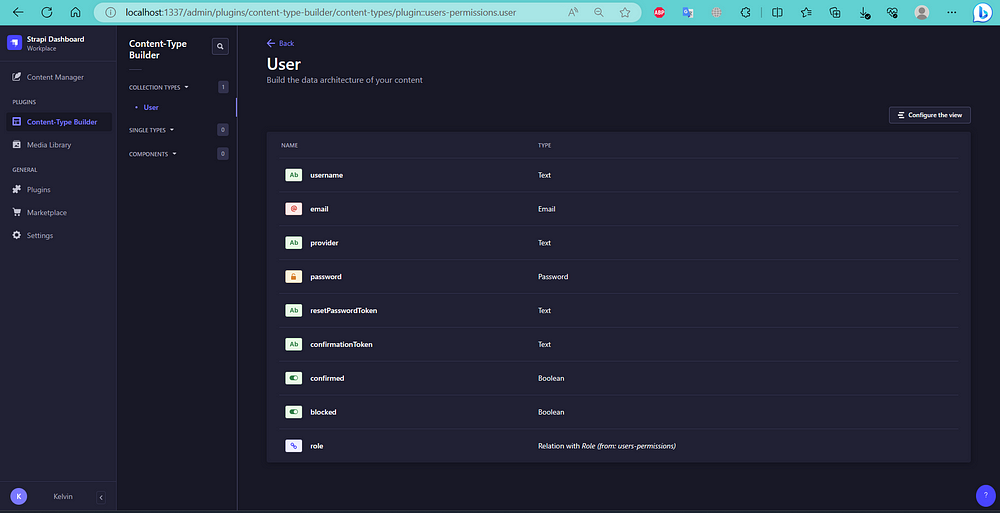
The note is that if you want to edit or develop within the Strapi dashboard, you must still use the development mode and first stop PM2 by running the command:
pm2 stop multistoreapp
# multistoreapp is the name of the project that was created earlier when starting PM2.
And finally
yarn develop
For a summary of the installation above, you can watch my YouTube video here: youtu.be/fJf0RTqk85k
Thank you, and I hope this article helps you.
Keep coding spirit high,
Stay relaxed, and produce quality work.